Fine Carpentry: The Art of Wood Finishing
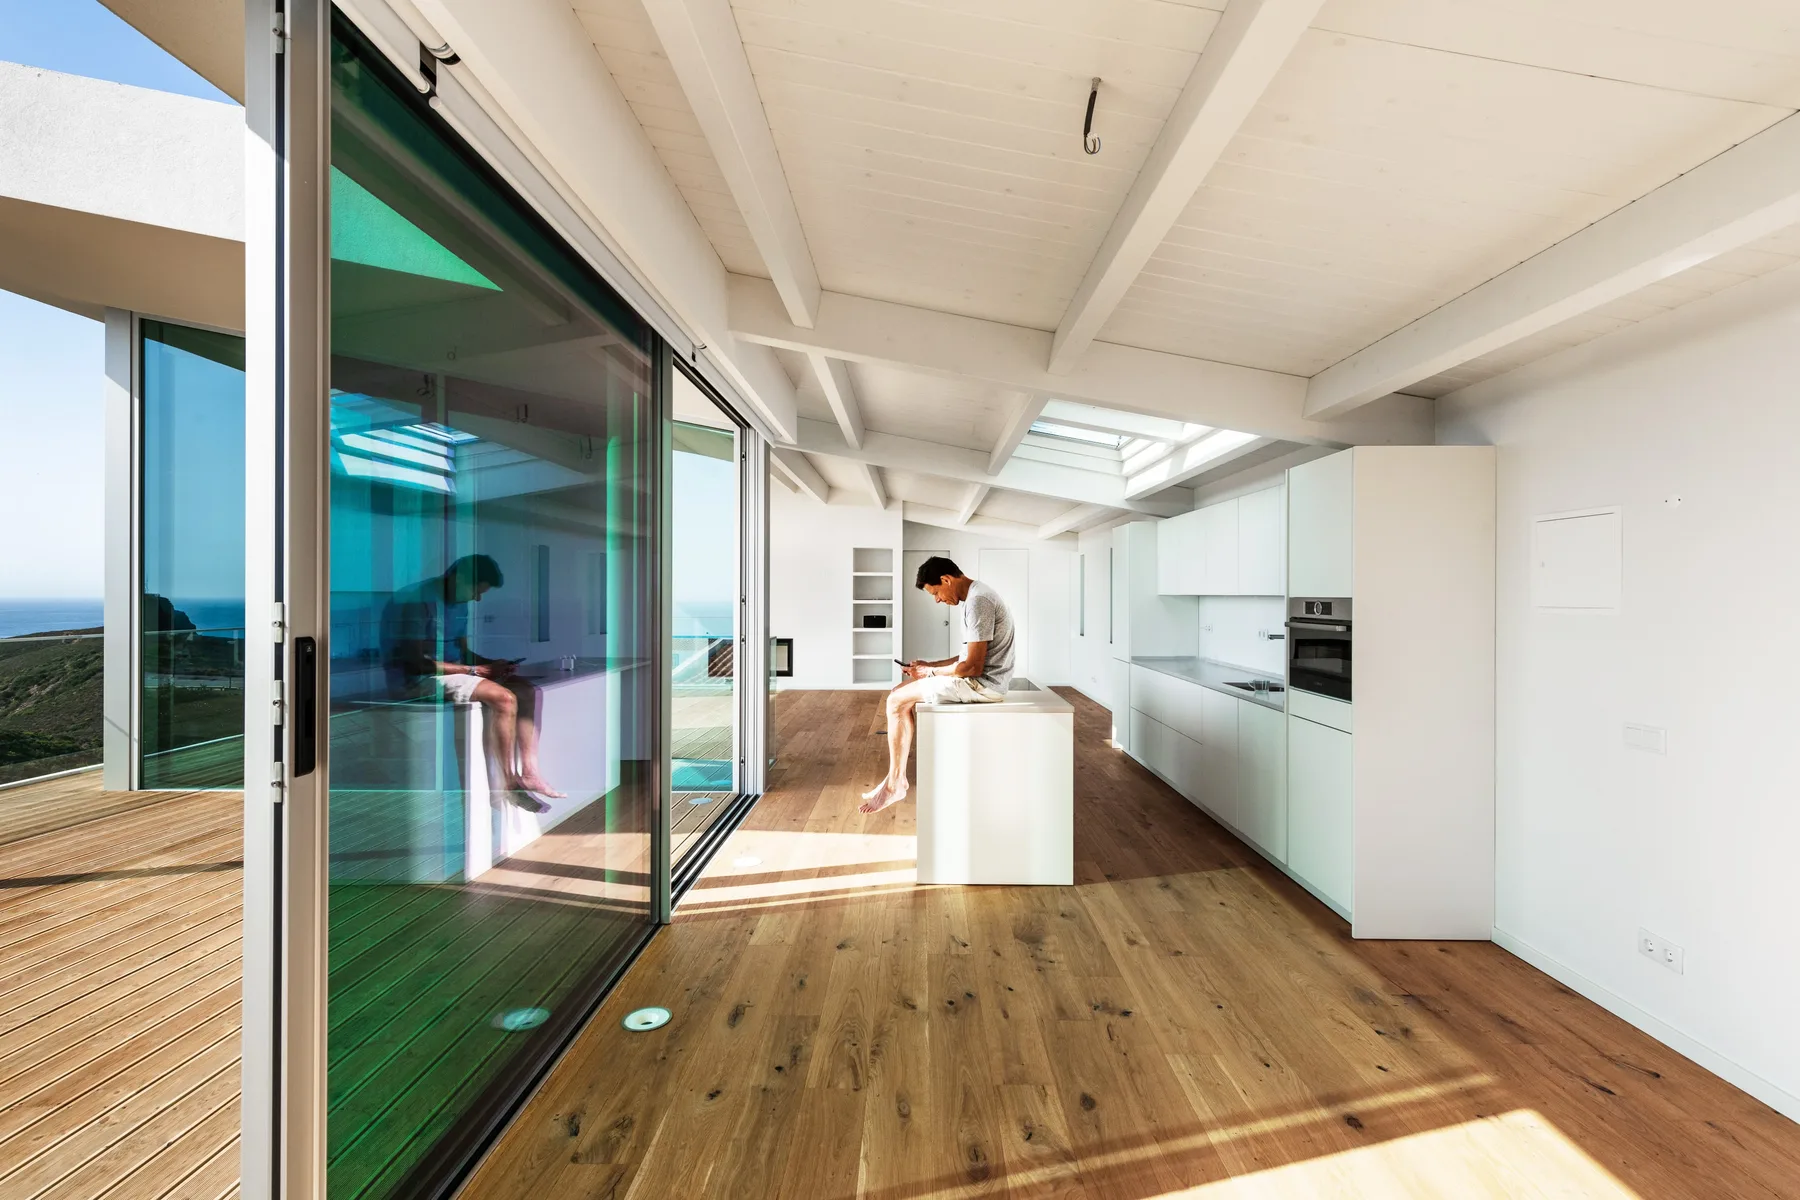
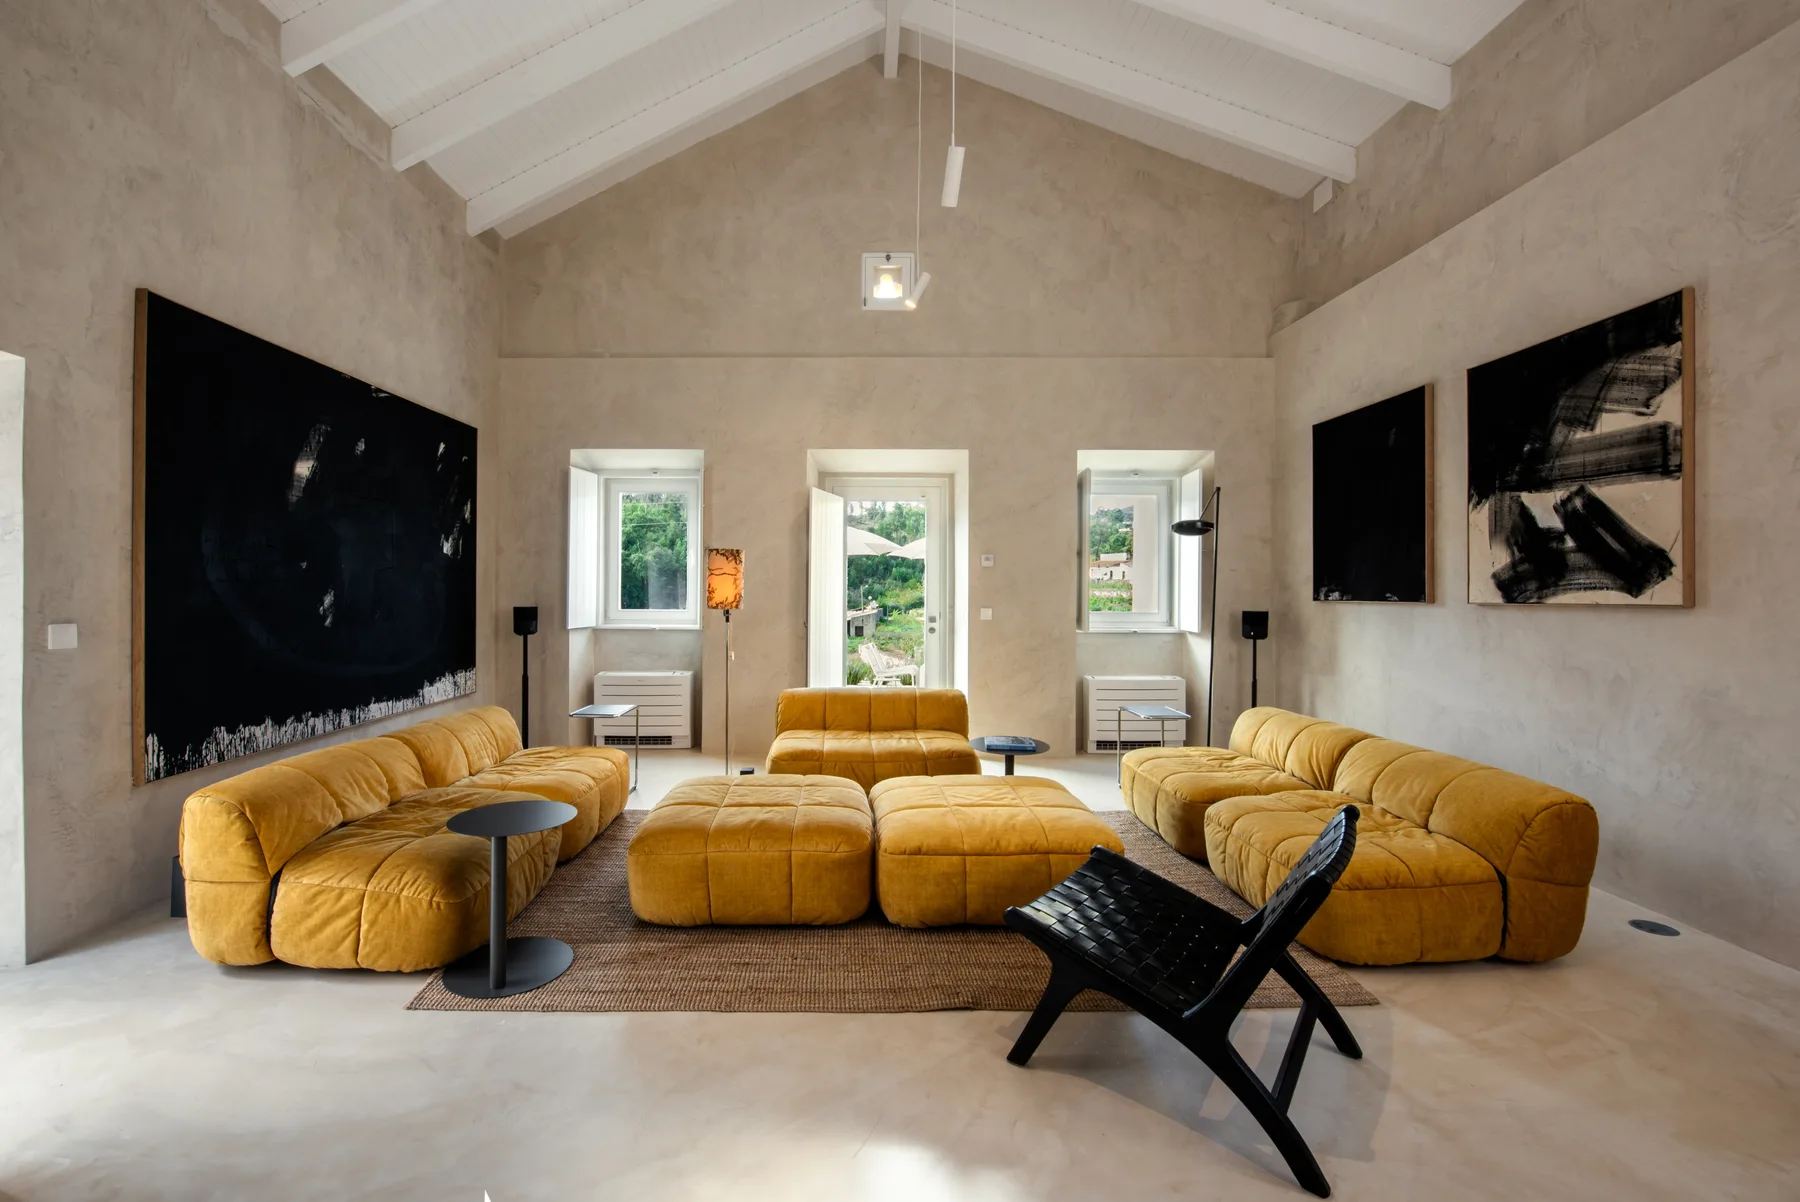
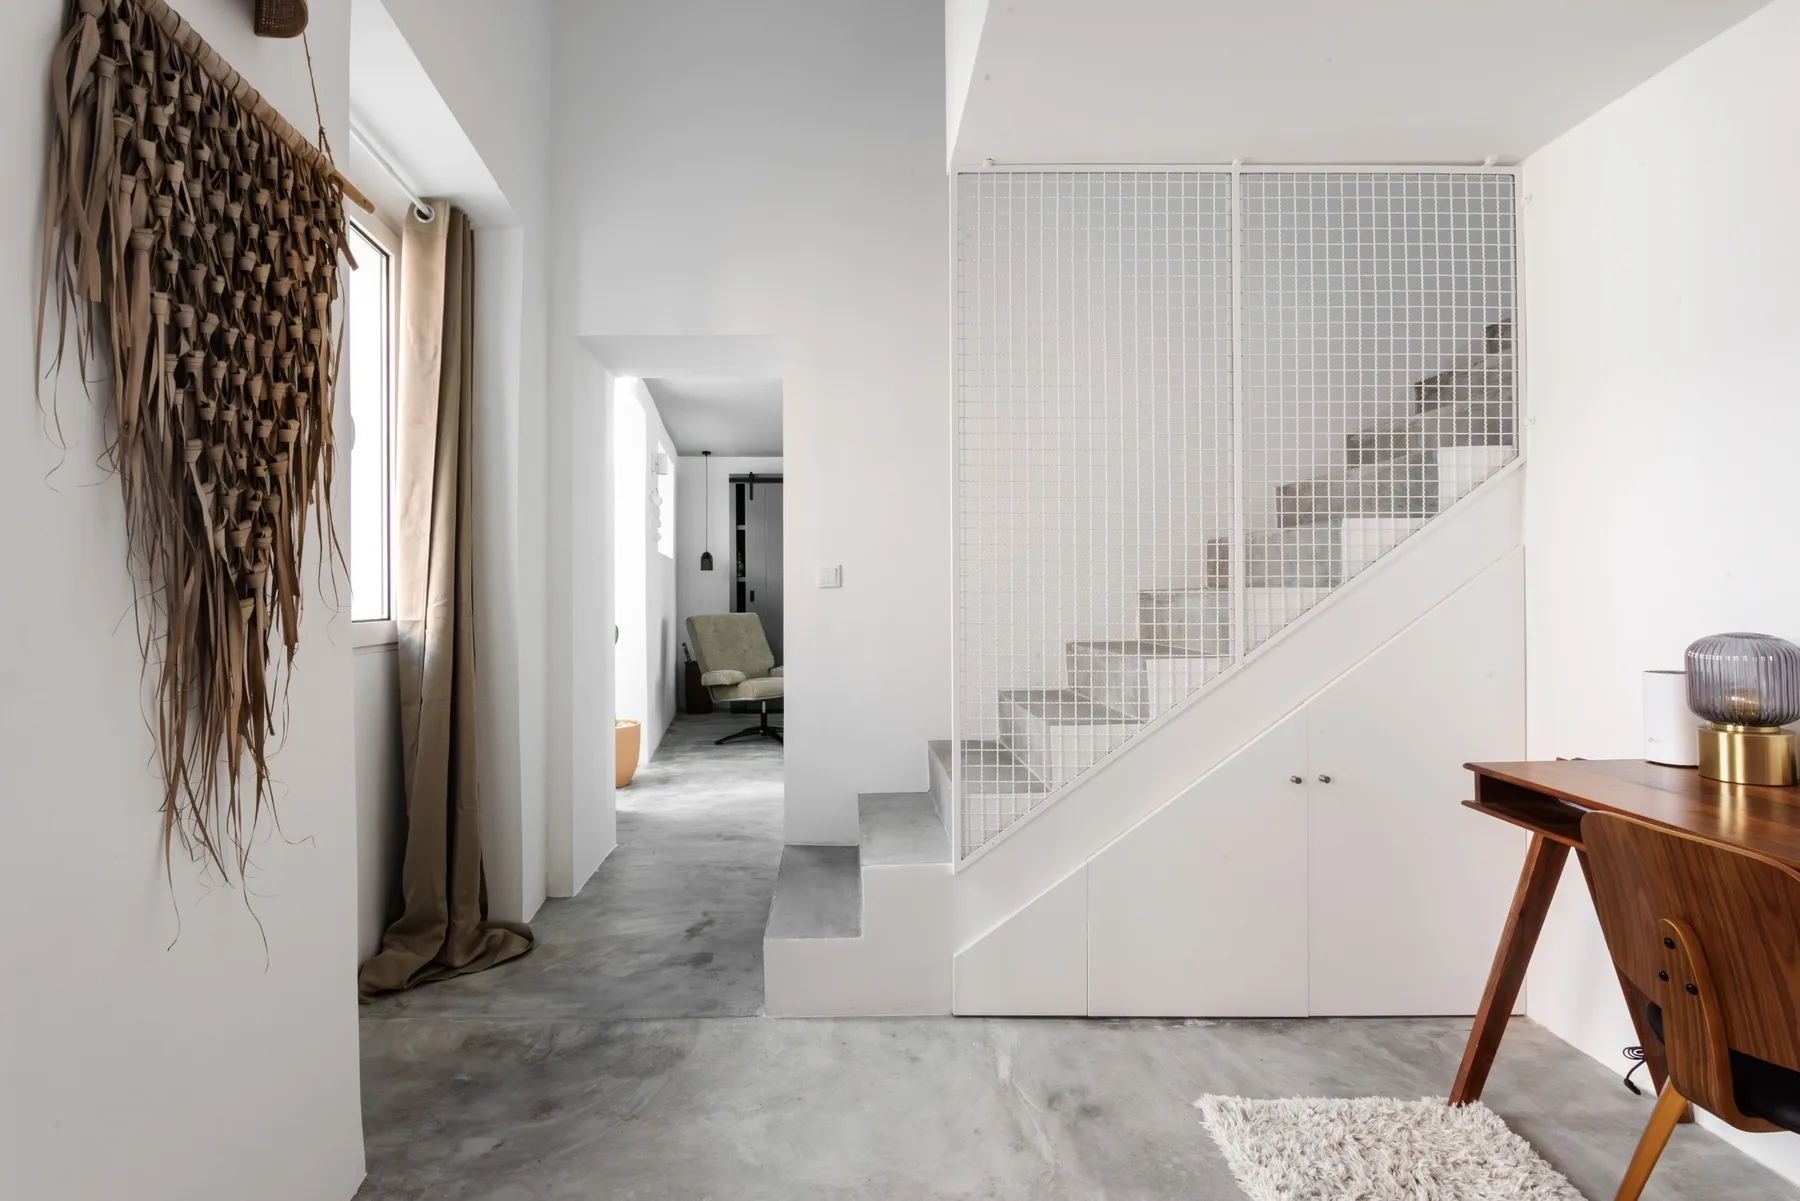
Finish carpentry is viewed at close range and touched every day. Doors, cupboards, skirtings, panels and fitted furniture demand precision because small differences in line or clearance remain visible. Quality starts long before the workshop with measurements, drawings and an agreed finish.
A successful building project is not created by one isolated decision. It grows from a coherent sequence of choices, checks and records made by people working from the same information. In the Algarve, climate, solar exposure, proximity to the coast, ground conditions and seasonal labour all influence design and delivery. Read this guide as a preparation method: it helps you ask better questions, compare options and establish a decision log before committing the budget and programme.
Organise the project around approval gateways. At each gateway, confirm what was decided, who approved it, which document changed and how cost or time may be affected. A shared folder should separate current information from superseded versions, while a short open-item register keeps attention on matters that could stop progress. This discipline matters particularly when the owner lives outside Portugal: contextual photographs, concise minutes and explicit approvals replace scattered messages and make remote oversight possible without turning every small detail into another meeting.
Specify use and performance
Humidity, impact, load, frequency, cleaning and solar exposure guide the suitable species, board, veneer, coating, support and hardware.
Begin by turning expectations into criteria that can be checked. Define priorities, limits and responsibilities in writing, separating essential outcomes from optional improvements. An initial meeting should produce a scope summary, a list of missing information and dates for each decision. Photographs, references and examples are useful, but they do not replace dimensions or specifications. When everyone works from the same brief, late changes become less likely and competing proposals can be assessed on an equal basis.
Draw junctions and modules
Alignment with walls, floors, ceilings, openings and equipment should be resolved in elevations and sections that include site tolerances.
A site visit is a technical tool rather than a formality. Observe access, levels, orientation, prevailing wind, drainage, neighbouring buildings and signs of damp or movement. Record what is visible and identify where opening-up, surveys or testing are required. In an existing property, confirm materials and systems before selecting an intervention. This reading prevents generic solutions and allows the detail to respond to physical conditions, planning constraints and the way the space will actually be occupied.
Approve complete samples
Colour, grain and sheen change with light. A sample should show support, finish, edge, joint and hardware rather than one small veneer.
Coordination between architecture, engineering and construction must happen before the site team starts. Plans, sections, door and window schedules, services and details need to describe the same building. Junctions between structure, waterproofing, insulation, frames and installations are risk areas that deserve enlarged drawings. A technically sound decision can still fail when it arrives late or is not communicated. Reviewing clashes together costs very little compared with demolition and rework.
Measure at the right moment
Final dimensions depend on stable plaster, floors and ceilings. Producing too early transfers site variation into pieces intended to look exact.
A useful cost plan includes quantities, exclusions and clear assumptions. Compare quotations line by line instead of looking only at the final number. Keep a contingency that reflects uncertainty, particularly in refurbishment, and protect essential outcomes before adding decorative upgrades. Long-lead materials require early approval. A procurement schedule linked to the programme prevents rushed substitutions, poor storage and teams waiting on site for one decisive component.
Install, adjust and care
Protection during work, clearances, ventilation, hardware adjustment and cleaning guidance determine appearance after handover.
During construction, quality comes from a repeatable method: approve a sample, agree the sequence, inspect before covering and record every change. Hold short meetings with named owners and dates, and photograph services that will become concealed. Check substrates before finishes and test systems before handover. At completion, collect warranties, technical sheets, as-built drawings and a maintenance plan. Physical work may finish, but lasting performance depends on information that remains with the building.
- carpentry schedule
- shop drawings
- approved sample
- final measurement
- care guide
The client also holds a technical role: decide within agreed dates, communicate one priority clearly and avoid issuing instructions to trades outside the established coordination route. Asking for alternatives is healthy when each option states price, performance and maintenance. The decision then moves beyond the most attractive image and supports the long-term behaviour of the building.
The best carpentry does not advertise its effort; it appears inevitable in the room. That simplicity comes from hundreds of choices about module, tolerance, touch and light, coordinated between designer, workshop and installer.

Before moving forward, turn these recommendations into a checklist tailored to your property. Confirm dimensions, existing conditions and responsibilities with the appointed professionals, record the options compared, and connect every approval to the cost plan and programme. This exercise makes conversations more objective, exposes conflicts earlier and gives the whole team one reliable reference throughout preparation, construction and handover. When in doubt, always confirm the technical and administrative requirements that apply to the location before appointing contractors or starting work.
Fine Carpentry: The Art of Wood Finishing

Finish carpentry is viewed at close range and touched every day. Doors, cupboards, skirtings, panels and fitted furniture demand precision because small differences in line or clearance remain visible. Quality starts long before the workshop with measurements, drawings and an agreed finish.
A successful building project is not created by one isolated decision. It grows from a coherent sequence of choices, checks and records made by people working from the same information. In the Algarve, climate, solar exposure, proximity to the coast, ground conditions and seasonal labour all influence design and delivery. Read this guide as a preparation method: it helps you ask better questions, compare options and establish a decision log before committing the budget and programme.
Organise the project around approval gateways. At each gateway, confirm what was decided, who approved it, which document changed and how cost or time may be affected. A shared folder should separate current information from superseded versions, while a short open-item register keeps attention on matters that could stop progress. This discipline matters particularly when the owner lives outside Portugal: contextual photographs, concise minutes and explicit approvals replace scattered messages and make remote oversight possible without turning every small detail into another meeting.
Specify use and performance
Humidity, impact, load, frequency, cleaning and solar exposure guide the suitable species, board, veneer, coating, support and hardware.
Begin by turning expectations into criteria that can be checked. Define priorities, limits and responsibilities in writing, separating essential outcomes from optional improvements. An initial meeting should produce a scope summary, a list of missing information and dates for each decision. Photographs, references and examples are useful, but they do not replace dimensions or specifications. When everyone works from the same brief, late changes become less likely and competing proposals can be assessed on an equal basis.
Draw junctions and modules
Alignment with walls, floors, ceilings, openings and equipment should be resolved in elevations and sections that include site tolerances.
A site visit is a technical tool rather than a formality. Observe access, levels, orientation, prevailing wind, drainage, neighbouring buildings and signs of damp or movement. Record what is visible and identify where opening-up, surveys or testing are required. In an existing property, confirm materials and systems before selecting an intervention. This reading prevents generic solutions and allows the detail to respond to physical conditions, planning constraints and the way the space will actually be occupied.
Approve complete samples
Colour, grain and sheen change with light. A sample should show support, finish, edge, joint and hardware rather than one small veneer.
Coordination between architecture, engineering and construction must happen before the site team starts. Plans, sections, door and window schedules, services and details need to describe the same building. Junctions between structure, waterproofing, insulation, frames and installations are risk areas that deserve enlarged drawings. A technically sound decision can still fail when it arrives late or is not communicated. Reviewing clashes together costs very little compared with demolition and rework.
Measure at the right moment
Final dimensions depend on stable plaster, floors and ceilings. Producing too early transfers site variation into pieces intended to look exact.
A useful cost plan includes quantities, exclusions and clear assumptions. Compare quotations line by line instead of looking only at the final number. Keep a contingency that reflects uncertainty, particularly in refurbishment, and protect essential outcomes before adding decorative upgrades. Long-lead materials require early approval. A procurement schedule linked to the programme prevents rushed substitutions, poor storage and teams waiting on site for one decisive component.
Install, adjust and care
Protection during work, clearances, ventilation, hardware adjustment and cleaning guidance determine appearance after handover.
During construction, quality comes from a repeatable method: approve a sample, agree the sequence, inspect before covering and record every change. Hold short meetings with named owners and dates, and photograph services that will become concealed. Check substrates before finishes and test systems before handover. At completion, collect warranties, technical sheets, as-built drawings and a maintenance plan. Physical work may finish, but lasting performance depends on information that remains with the building.
- carpentry schedule
- shop drawings
- approved sample
- final measurement
- care guide
The client also holds a technical role: decide within agreed dates, communicate one priority clearly and avoid issuing instructions to trades outside the established coordination route. Asking for alternatives is healthy when each option states price, performance and maintenance. The decision then moves beyond the most attractive image and supports the long-term behaviour of the building.
The best carpentry does not advertise its effort; it appears inevitable in the room. That simplicity comes from hundreds of choices about module, tolerance, touch and light, coordinated between designer, workshop and installer.

Before moving forward, turn these recommendations into a checklist tailored to your property. Confirm dimensions, existing conditions and responsibilities with the appointed professionals, record the options compared, and connect every approval to the cost plan and programme. This exercise makes conversations more objective, exposes conflicts earlier and gives the whole team one reliable reference throughout preparation, construction and handover. When in doubt, always confirm the technical and administrative requirements that apply to the location before appointing contractors or starting work.
Fine Carpentry: The Art of Wood Finishing
Finish carpentry is viewed at close range and touched every day. Doors, cupboards, skirtings, panels and fitted furniture demand precision because small differences in line or clearance remain visible. Quality starts long before the workshop with measurements, drawings and an agreed finish.
A successful building project is not created by one isolated decision. It grows from a coherent sequence of choices, checks and records made by people working from the same information. In the Algarve, climate, solar exposure, proximity to the coast, ground conditions and seasonal labour all influence design and delivery. Read this guide as a preparation method: it helps you ask better questions, compare options and establish a decision log before committing the budget and programme.
Organise the project around approval gateways. At each gateway, confirm what was decided, who approved it, which document changed and how cost or time may be affected. A shared folder should separate current information from superseded versions, while a short open-item register keeps attention on matters that could stop progress. This discipline matters particularly when the owner lives outside Portugal: contextual photographs, concise minutes and explicit approvals replace scattered messages and make remote oversight possible without turning every small detail into another meeting.
Specify use and performance
Humidity, impact, load, frequency, cleaning and solar exposure guide the suitable species, board, veneer, coating, support and hardware.
Begin by turning expectations into criteria that can be checked. Define priorities, limits and responsibilities in writing, separating essential outcomes from optional improvements. An initial meeting should produce a scope summary, a list of missing information and dates for each decision. Photographs, references and examples are useful, but they do not replace dimensions or specifications. When everyone works from the same brief, late changes become less likely and competing proposals can be assessed on an equal basis.
Draw junctions and modules
Alignment with walls, floors, ceilings, openings and equipment should be resolved in elevations and sections that include site tolerances.
A site visit is a technical tool rather than a formality. Observe access, levels, orientation, prevailing wind, drainage, neighbouring buildings and signs of damp or movement. Record what is visible and identify where opening-up, surveys or testing are required. In an existing property, confirm materials and systems before selecting an intervention. This reading prevents generic solutions and allows the detail to respond to physical conditions, planning constraints and the way the space will actually be occupied.
Approve complete samples
Colour, grain and sheen change with light. A sample should show support, finish, edge, joint and hardware rather than one small veneer.
Coordination between architecture, engineering and construction must happen before the site team starts. Plans, sections, door and window schedules, services and details need to describe the same building. Junctions between structure, waterproofing, insulation, frames and installations are risk areas that deserve enlarged drawings. A technically sound decision can still fail when it arrives late or is not communicated. Reviewing clashes together costs very little compared with demolition and rework.
Measure at the right moment
Final dimensions depend on stable plaster, floors and ceilings. Producing too early transfers site variation into pieces intended to look exact.
A useful cost plan includes quantities, exclusions and clear assumptions. Compare quotations line by line instead of looking only at the final number. Keep a contingency that reflects uncertainty, particularly in refurbishment, and protect essential outcomes before adding decorative upgrades. Long-lead materials require early approval. A procurement schedule linked to the programme prevents rushed substitutions, poor storage and teams waiting on site for one decisive component.
Install, adjust and care
Protection during work, clearances, ventilation, hardware adjustment and cleaning guidance determine appearance after handover.
During construction, quality comes from a repeatable method: approve a sample, agree the sequence, inspect before covering and record every change. Hold short meetings with named owners and dates, and photograph services that will become concealed. Check substrates before finishes and test systems before handover. At completion, collect warranties, technical sheets, as-built drawings and a maintenance plan. Physical work may finish, but lasting performance depends on information that remains with the building.
- carpentry schedule
- shop drawings
- approved sample
- final measurement
- care guide
The client also holds a technical role: decide within agreed dates, communicate one priority clearly and avoid issuing instructions to trades outside the established coordination route. Asking for alternatives is healthy when each option states price, performance and maintenance. The decision then moves beyond the most attractive image and supports the long-term behaviour of the building.
The best carpentry does not advertise its effort; it appears inevitable in the room. That simplicity comes from hundreds of choices about module, tolerance, touch and light, coordinated between designer, workshop and installer.

Before moving forward, turn these recommendations into a checklist tailored to your property. Confirm dimensions, existing conditions and responsibilities with the appointed professionals, record the options compared, and connect every approval to the cost plan and programme. This exercise makes conversations more objective, exposes conflicts earlier and gives the whole team one reliable reference throughout preparation, construction and handover. When in doubt, always confirm the technical and administrative requirements that apply to the location before appointing contractors or starting work.